Your kitchen holds more skincare power than you realize. That honey in your pantry? It’s a natural humectant. The oatmeal in your cupboard? A gentle exfoliant. The avocado ripening on your counter? Packed with nourishing fatty acids. You don’t need to spend a fortune on fancy products when your kitchen already contains everything you need for glowing, healthy skin.
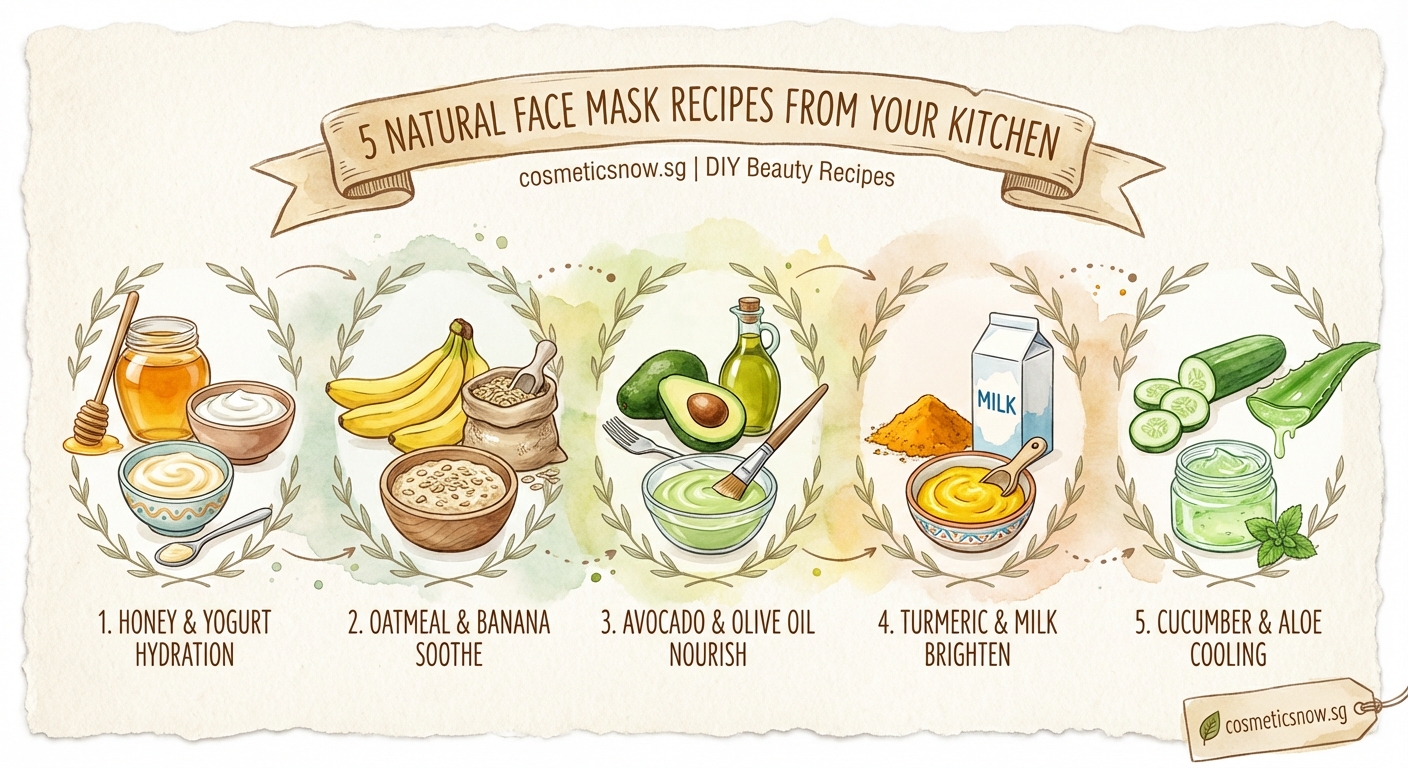
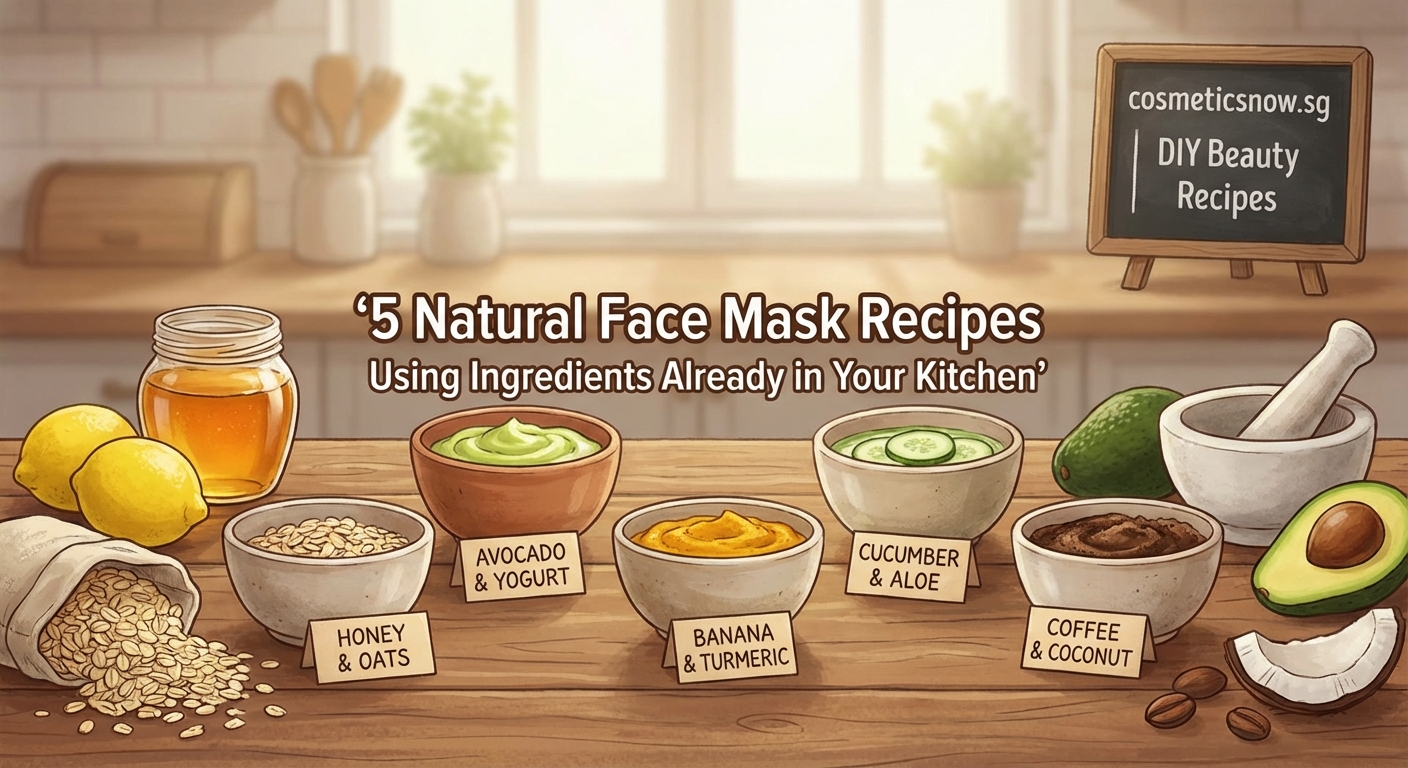
Creating effective face masks from kitchen ingredients saves money while giving you complete control over what touches your skin. These five recipes use common household items like honey, oatmeal, yogurt, and avocado to address different skin concerns from dryness to dullness. Each mask takes less than 10 minutes to prepare and delivers results comparable to store-bought alternatives at a fraction of the cost.
Why Kitchen Ingredients Work Better Than You Think
Your skin recognizes natural ingredients. It knows how to process them. It absorbs their nutrients efficiently.
Commercial face masks often contain fillers, preservatives, and synthetic fragrances. Your kitchen ingredients? Pure and simple. No chemical additives. No mysterious compounds you can’t pronounce.
The science backs this up. Honey contains enzymes that promote healing. Yogurt provides lactic acid for gentle exfoliation. Avocado delivers vitamins E and K directly to your skin cells.
Plus, you control exactly what goes into each recipe. If your skin reacts to a certain ingredient, you simply leave it out. Try doing that with a pre-packaged product.
Understanding Your Skin Type Before Mixing
Not every mask works for every face. Understanding your skin type prevents wasted ingredients and disappointing results.
Oily skin produces excess sebum. It looks shiny by midday. Pores appear larger. You need ingredients that absorb oil without stripping moisture completely.
Dry skin feels tight after washing. It may flake or look dull. You need deeply hydrating ingredients that lock in moisture.
Combination skin gets oily in the T-zone but stays dry on the cheeks. You might need to apply different masks to different areas.
Sensitive skin reacts easily to new products. Redness, itching, or burning happens frequently. Stick with gentle, anti-inflammatory ingredients.
Before trying any new mask, do a patch test. Apply a small amount to your inner wrist. Wait 24 hours. No reaction? You’re good to go.
Five Natural Face Masks You Can Make Right Now
Honey and Cinnamon Brightening Mask
This combination works wonders for dull, tired skin. Honey attracts moisture while cinnamon stimulates blood flow.
What you need:
– 2 tablespoons raw honey
– 1/2 teaspoon ground cinnamon
– 1 teaspoon lemon juice (optional, for extra brightening)
How to make it:
- Mix honey and cinnamon in a small bowl until fully combined.
- Add lemon juice if using (skip this if you have sensitive skin).
- Apply to clean, damp skin using clean fingers or a brush.
- Leave on for 10 to 15 minutes.
- Rinse with warm water and pat dry.
The honey provides antibacterial benefits while the cinnamon gently stimulates circulation. Your skin looks refreshed and glowing immediately after rinsing.
Use this mask once or twice weekly. Too much cinnamon can irritate, so start with less if you’re unsure.
Oatmeal and Yogurt Soothing Mask
Perfect for irritated or inflamed skin. Oatmeal calms redness while yogurt provides gentle exfoliation.
What you need:
– 3 tablespoons ground oatmeal (blend regular oats in a food processor)
– 2 tablespoons plain yogurt
– 1 teaspoon honey
How to make it:
- Grind oats into a fine powder if you haven’t already.
- Mix all ingredients until you get a spreadable paste.
- Apply a thick layer to your face, avoiding the eye area.
- Let it sit for 15 to 20 minutes.
- Gently massage in circular motions before rinsing.
This mask works especially well after sun exposure or when your skin feels reactive. The oatmeal contains beta-glucans that reduce inflammation, while yogurt’s probiotics support your skin barrier.
Store any leftover mixture in the refrigerator for up to three days. The cool mask feels extra soothing on hot skin.
Avocado and Olive Oil Hydration Mask
Dry skin drinks up this rich, creamy treatment. Both ingredients deliver deep moisture without feeling heavy.
What you need:
– 1/2 ripe avocado, mashed
– 1 tablespoon olive oil
– 1 teaspoon honey
How to make it:
- Mash the avocado until completely smooth (no lumps).
- Stir in olive oil and honey until well blended.
- Apply generously to clean skin.
- Relax for 15 to 20 minutes.
- Remove with a warm, damp washcloth.
The healthy fats in avocado penetrate deeply. Olive oil adds an extra layer of protection. Your skin feels soft and supple for hours afterward.
This mask works beautifully before bed as part of your nighttime skincare routine. Apply it, let it work its magic, then follow with your regular products.
Egg White and Lemon Pore-Tightening Mask
Oily skin and enlarged pores meet their match with this protein-rich treatment.
What you need:
– 1 egg white
– 1 teaspoon lemon juice
– 1 teaspoon witch hazel (optional)
How to make it:
- Separate the egg white from the yolk (save the yolk for another recipe).
- Whisk the egg white until slightly frothy.
- Add lemon juice and witch hazel if using.
- Apply a thin layer with a brush or fingers.
- Wait until completely dry (about 15 minutes).
- Peel off gently or rinse with cool water.
The egg white temporarily tightens skin while lemon juice provides astringent properties. You’ll notice pores look smaller immediately after use.
Use this mask no more than once per week. The lemon can be drying if overused.
Banana and Honey Anti-Aging Mask
Mature skin loves this gentle, nourishing treatment packed with antioxidants.
What you need:
– 1/2 ripe banana, mashed
– 1 tablespoon honey
– 1 teaspoon plain yogurt
How to make it:
- Mash the banana until no chunks remain.
- Mix in honey and yogurt thoroughly.
- Smooth over your face and neck.
- Leave on for 20 minutes.
- Rinse with lukewarm water.
Bananas contain vitamins A, B, and E, all crucial for skin health. The potassium in bananas helps hydrate skin cells while antioxidants fight free radical damage.
This mask feels gentle enough for daily use, though three times weekly gives excellent results without overdoing it.
Common Mistakes That Ruin Homemade Masks
| Mistake | Why It’s a Problem | Better Approach |
|---|---|---|
| Using ingredients straight from the fridge | Cold ingredients don’t spread well and can shock skin | Let ingredients reach room temperature first |
| Leaving masks on too long | Over-exposure can irritate or dry out skin | Set a timer and stick to recommended times |
| Applying to dirty skin | Dirt and oil block ingredient absorption | Always cleanse thoroughly before masking |
| Skipping the patch test | You might discover an allergy on your face | Test on your wrist 24 hours before full application |
| Using metal bowls with acidic ingredients | Metal can react with acids like lemon juice | Use glass or ceramic bowls only |
| Making too much at once | Most masks don’t store well | Mix only what you’ll use immediately |
These mistakes seem small but they significantly impact results. Taking a few extra minutes to do things properly makes all the difference.
Storing and Preserving Your Homemade Masks
Most DIY face masks work best when freshly made. The ingredients lack preservatives, so they spoil faster than commercial products.
Immediate use works best for masks containing fresh produce. Avocado, banana, and cucumber oxidize within hours. Mix these right before application.
Short-term storage (up to three days) works for honey-based masks or those with yogurt. Store them in clean, airtight containers in the refrigerator. Always smell before using. If it smells off, toss it.
Never store masks containing raw egg. The risk of bacterial growth is too high. Make these fresh every time.
Some ingredients freeze well. You can freeze mashed banana or avocado in ice cube trays, then thaw one cube when you’re ready to make a mask. This reduces waste while keeping ingredients fresh.
“The best skincare routine is one you’ll actually follow. Homemade masks work because they’re affordable, effective, and fun to make. You’re more likely to stick with something that doesn’t drain your wallet or require a trip to the store.” – Sarah Chen, Licensed Esthetician
Customizing Recipes for Your Specific Concerns
The five base recipes above work beautifully as written, but you can modify them based on what your skin needs right now.
For acne-prone skin, add a pinch of turmeric to any mask. It fights bacteria and reduces inflammation. Just be careful, it can temporarily stain your skin yellow.
For hyperpigmentation, increase the lemon juice slightly or add a teaspoon of tomato juice. Both contain natural acids that brighten dark spots over time.
For extra hydration, mix in a few drops of your favorite oil. Jojoba, almond, or coconut oil all work well. Start with three drops and adjust based on how your skin feels.
For sensitive skin, reduce or eliminate any acidic ingredients. Skip the lemon juice and cinnamon. Focus on soothing ingredients like oatmeal, honey, and plain yogurt.
Building a consistent skincare approach means understanding what works for your unique skin. These masks complement a well-structured skincare routine rather than replacing it.
When to Apply Your Kitchen Face Masks
Timing matters more than you might think. Your skin absorbs ingredients differently throughout the day.
Morning masks should energize and refresh. The honey and cinnamon brightening mask works perfectly before makeup application. Just make sure to rinse thoroughly and follow with your regular products.
Evening masks can be richer and more intensive. The avocado hydration mask or banana anti-aging mask work best at night when your skin enters repair mode.
Weekend deep treatments allow for longer application times. Save your most intensive masks for Saturday or Sunday when you can relax without rushing.
Pre-event prep calls for the egg white pore-tightening mask. Apply it the night before a big event for temporarily refined pores and smoother texture.
Many people find that masking twice weekly gives the best results. More than that can overwhelm your skin. Less might not deliver noticeable benefits.
The Real Cost Comparison
Let’s talk numbers. A decent store-bought face mask costs between $15 and $40. You get maybe 10 to 15 applications from a jar.
Your DIY versions? Here’s what you’re actually spending:
- Honey and cinnamon mask: About $0.50 per application
- Oatmeal and yogurt mask: About $0.75 per application
- Avocado and olive oil mask: About $1.00 per application
- Egg white and lemon mask: About $0.40 per application
- Banana and honey mask: About $0.60 per application
You save roughly $14 to $39 per application. If you mask twice weekly, that’s $1,456 to $4,056 saved annually. That’s a vacation. Or a year of quality serums. Or simply money in your savings account.
Plus, you’re using ingredients you likely already buy for cooking. No special trips to specialty stores. No waiting for online orders. No wondering if that expensive jar is worth the hype.
Troubleshooting Common Problems
Problem: The mask won’t stick to your face.
Solution: Your mixture is too thin. Add more of the solid ingredients (oatmeal, banana, avocado) until you reach a spreadable but thick consistency.
Problem: Your skin feels tight and dry after rinsing.
Solution: You left the mask on too long or used too much lemon juice. Cut application time by five minutes next time and reduce acidic ingredients.
Problem: You see no results after several applications.
Solution: Results take time. Give any new mask at least three weeks of consistent use before judging effectiveness. Also, make sure you’re using the right mask for your skin type.
Problem: The mask smells bad while mixing.
Solution: One of your ingredients has gone bad. Check expiration dates and smell each ingredient individually before mixing.
Problem: Your skin looks red or irritated after use.
Solution: You’re reacting to an ingredient. Stop using that mask immediately. Apply a cool compress and your regular moisturizer. Return to basics with just honey or plain yogurt until irritation subsides.
Building a Weekly Mask Routine
Structure helps you stay consistent. Here’s a simple framework:
Monday: Cleanse and rest. Let your skin recover from the weekend.
Tuesday or Wednesday: Apply a gentle, hydrating mask like the oatmeal and yogurt treatment.
Thursday and Friday: Skip masks. Focus on your regular skincare routine.
Saturday or Sunday: Time for a more intensive treatment. Choose based on what your skin needs this week.
This schedule prevents over-treating while ensuring consistent care. Adjust based on your skin’s response. Some people thrive with three masks weekly. Others do better with just one.
Track your results in a simple notebook. Write down which mask you used, how long you left it on, and how your skin looked and felt afterward. Patterns emerge quickly.
Additional Ingredients Worth Keeping Around
Beyond the five main recipes, these ingredients expand your options:
- Turmeric: Anti-inflammatory and brightening
- Green tea: Antioxidant-rich and calming
- Aloe vera gel: Soothing and hydrating
- Apple cider vinegar: Balancing and clarifying (dilute heavily)
- Cocoa powder: Antioxidants and a chocolate spa experience
- Strawberries: Natural salicylic acid for gentle exfoliation
Start with the five core recipes first. Master those. Then experiment with additions once you understand how your skin responds to different ingredients.
Safety Considerations You Can’t Ignore
Natural doesn’t automatically mean safe. Some kitchen ingredients can cause serious reactions.
Never use these on your face:
– Baking soda (too alkaline, damages skin barrier)
– Straight lemon juice without dilution (chemical burns possible)
– Hot ingredients (wait until room temperature)
– Anything you’re allergic to when eating
Be cautious with:
– Essential oils (highly concentrated, can irritate)
– Salt (too abrasive for facial skin)
– Apple cider vinegar (always dilute at least 1:3 with water)
If you’re pregnant, nursing, or undergoing medical treatment, check with your doctor before trying new skincare ingredients. Some natural compounds interact with medications or aren’t recommended during pregnancy.
Enhancing Results With Proper Application
How you apply your mask matters as much as what’s in it.
Preparation steps:
– Tie hair back completely
– Cleanse skin thoroughly
– Pat skin damp, not dripping wet
– Have a timer ready
Application technique:
– Use clean hands or a dedicated mask brush
– Apply in upward strokes
– Avoid the delicate eye area
– Create an even layer, not too thick or thin
During treatment:
– Lie down if possible
– Place cucumber slices on closed eyes
– Play relaxing music
– Stay still (facial movements can cause the mask to crack or slide)
Removal process:
– Use lukewarm water, never hot
– Gently massage as you rinse
– Pat dry with a clean towel
– Follow immediately with your regular products
The ritual matters. Taking 20 minutes to care for yourself reduces stress, which also benefits your skin. Consider this self-care time, not just a beauty task.
Your Kitchen Skincare Journey Starts Now
You have everything you need already. That pantry holds more skincare potential than most medicine cabinets. Those simple ingredients deliver real results without the markup, mystery chemicals, or marketing hype.
Start with one recipe this week. Choose based on what your skin needs most right now. Mix it fresh. Apply it properly. Notice how your skin responds. Then try another next week.
Your face deserves ingredients you can pronounce. It deserves your attention and care. It deserves the same quality you’d put into a homemade meal. These DIY face mask recipes using kitchen ingredients give you control, save you money, and deliver results you can see and feel. Your glowing skin will thank you.