You’ve watched countless makeup tutorials and purchased the perfect foundation shade, but somehow your finish never looks as smooth and natural as those professional makeup artists achieve. The truth is, the difference between amateur and professional foundation application isn’t just about expensive products. It’s about technique, preparation, and knowing the right methods for your specific skin type.
Professional foundation application starts with properly prepped skin, uses the right tools for your formula, and employs strategic techniques like dotting, blending outward, and building coverage gradually. The key is working in thin layers, matching your application method to your foundation type, and setting strategically for a natural finish that lasts all day without looking cakey or mask-like.
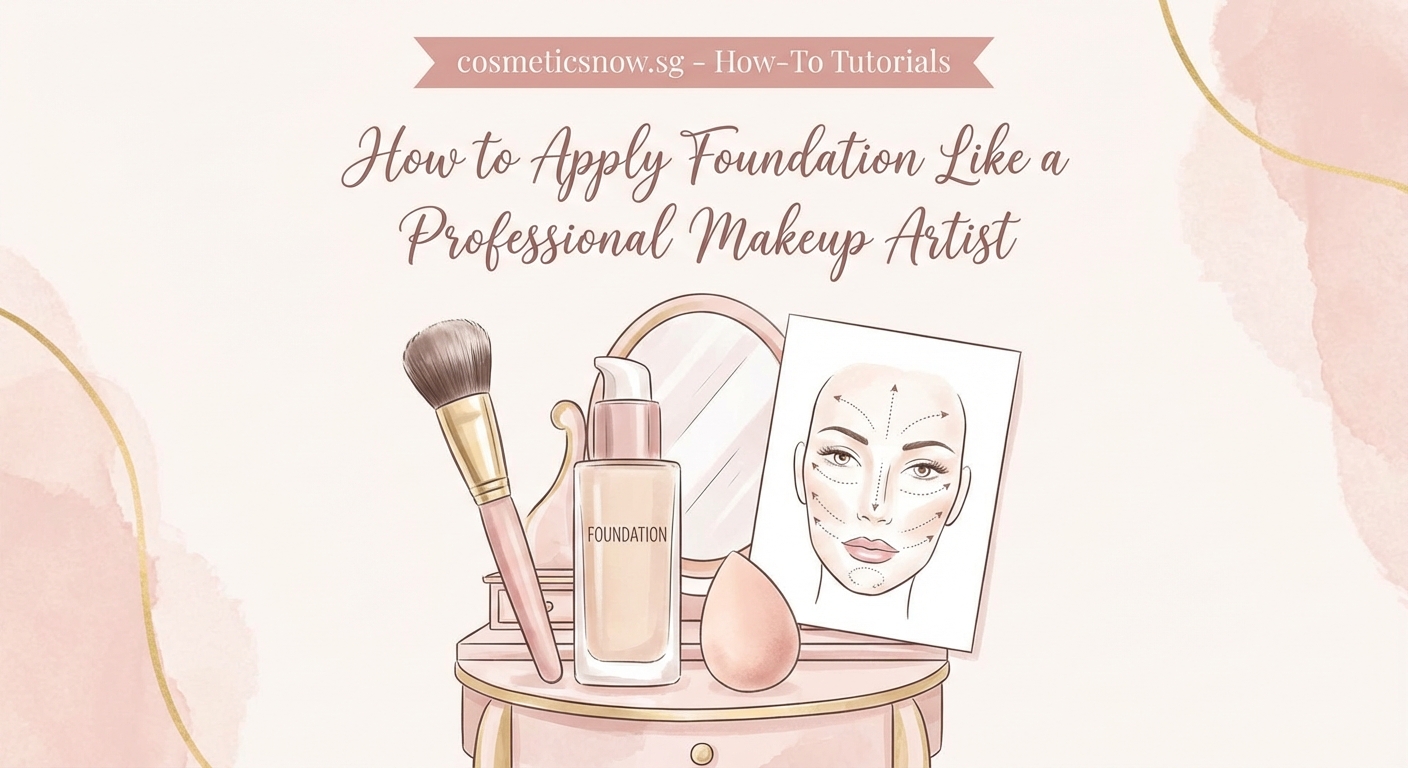
Prep Your Canvas Before Foundation Touches Your Face
Your skin needs proper preparation before foundation application. Think of it like painting a wall. You wouldn’t paint over dirt and rough patches and expect a smooth result.
Start with a clean face. Remove any overnight oils or previous makeup residue completely. Pat your skin dry with a clean towel.
Apply your regular skincare routine next. Moisturizer creates a smooth base and prevents foundation from clinging to dry patches. Wait three to five minutes after moisturizing. This gives products time to absorb fully.
Primer comes next, but only if your skin needs it. Oily skin benefits from mattifying primers. Dry skin works better with hydrating primers. Large pores need pore-filling formulas. Skip primer if your skin is already balanced and smooth.
The temperature of your skin matters too. Cold skin doesn’t blend foundation as smoothly. Rub your hands together to warm them, then press your palms gently against your cheeks for a few seconds.
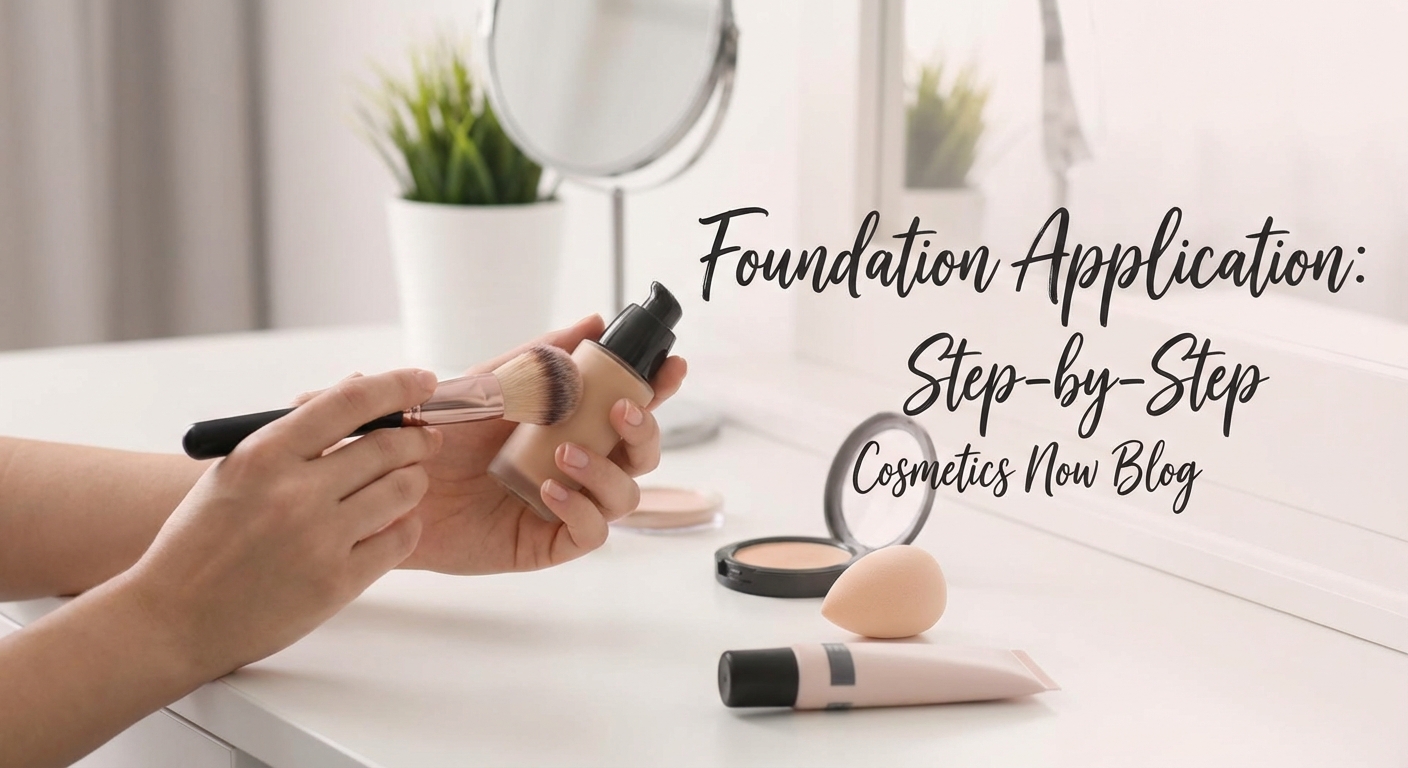
Choose Your Application Tool Based on Your Foundation Formula
Different foundation formulas perform best with specific application tools. Professional makeup artists switch tools based on what they’re working with.
Liquid foundations work beautifully with damp beauty sponges. The moisture prevents the sponge from absorbing too much product. Wet your sponge under running water, then squeeze out excess moisture until it’s just damp. Bounce the sponge across your skin rather than dragging it.
Cream and stick foundations need the precision of brushes. Dense, flat-topped brushes (called kabuki brushes) buff cream formulas into skin seamlessly. Use circular motions to work the product in, then blend outward with lighter strokes.
Powder foundations require fluffy brushes with soft, natural bristles. These pick up just enough product without creating a heavy layer. Swirl the brush in the powder, tap off excess, then sweep across your face in light, feathery strokes.
Your fingers work surprisingly well for sheer, dewy foundations. Your body heat helps blend these formulas naturally. Dot foundation on your face, then press and pat it into your skin with your fingertips.
| Tool Type | Best For | Application Method |
|---|---|---|
| Damp Beauty Sponge | Liquid, BB creams, tinted moisturizers | Bouncing, stippling motion |
| Dense Flat Brush | Cream, stick foundations | Circular buffing, then outward blending |
| Fluffy Powder Brush | Powder foundations, setting powder | Light sweeping strokes |
| Fingers | Sheer liquids, skin tints | Pressing and patting |
| Airbrush | Special airbrush formulas | Even misting from 6 inches away |
Master the Professional Dotting and Blending Technique
Professional makeup artists rarely apply foundation in one continuous layer. They build coverage strategically.
Start by dotting small amounts of foundation on the high points of your face. Place dots on your forehead, cheeks, nose, and chin. These areas need the most coverage because they’re most visible.
Blend each dot outward toward your hairline and jawline. This creates a gradient effect where coverage is heaviest in the center of your face and sheers out toward the edges. Your face looks more natural this way because it doesn’t have that obvious makeup line at your jaw.
Work in sections. Blend your forehead completely before moving to your cheeks. This prevents the foundation from drying before you finish blending.
The direction of your blending matters. Always blend downward on areas with visible facial hair. Blending upward lifts those tiny hairs and makes them more noticeable under your foundation.
Pay special attention to your nose. This area oxidizes foundation quickly because of natural oils. Use less product here and blend thoroughly.
“The biggest mistake I see is people applying too much foundation at once. You can always add more, but removing excess while keeping your base intact is nearly impossible. Build your coverage in thin layers for the most natural, professional result.” – Celebrity Makeup Artist Lisa Eldridge
Build Coverage Gradually Instead of Piling It On
One thick layer of foundation always looks worse than two or three thin layers. This is the number one difference between amateur and professional application.
Apply your first layer using about half the amount of product you think you need. Blend it completely. Look at your face in natural light. Identify areas that need more coverage.
Add a second thin layer only where you need it. Most people need extra coverage around the nose, under the eyes, and on any blemishes or redness.
Let each layer set for 30 seconds before adding the next. This prevents the layers from mixing and becoming muddy.
Your jawline and neck need special attention. Blend your foundation down past your jawline onto your neck. This eliminates the dreaded foundation line. You don’t need to cover your entire neck, just blend the edge so there’s no visible stopping point.
Check your foundation in different lighting. Stand near a window. The natural light shows exactly how your foundation will look outside. Artificial bathroom lighting often makes foundation look perfect when it actually has streaks or unblended patches.
Tackle Problem Areas With Targeted Techniques
Certain areas of your face need modified application techniques for the best results.
Under your eyes: Use less foundation here than anywhere else. The skin is thinner and moves more when you talk and smile. Heavy foundation creases immediately. Pat foundation gently under your eyes with your ring finger (it has the lightest touch). Don’t drag or pull the delicate skin.
Around your nose: This area gets oily and foundation breaks down here first. Use a damp sponge to press foundation into the creases beside your nose. The bouncing motion works product into these tight spaces without disturbing the texture.
Your forehead: If you have texture or fine lines on your forehead, blend foundation in downward motions only. Circular motions emphasize texture. Downward strokes smooth it.
Jawline and chin: These areas often have different coloring than the rest of your face. Some people have redness here, others have darker pigmentation. Adjust your foundation amount based on what you see. You might need slightly more coverage on your chin than your cheeks.
Hairline: Foundation that stops abruptly at your hairline looks obvious. Blend a tiny amount of foundation into your hairline using a small brush or your fingertip. This creates a seamless transition.
Set Your Foundation Strategically for All-Day Wear
Setting your foundation incorrectly ruins even perfect application. Professional makeup artists set strategically, not uniformly.
Wait two to three minutes after applying foundation before setting it. This lets the foundation settle into your skin. Setting too soon locks it on the surface where it looks cakey.
Use powder only where you need it. Your T-zone (forehead, nose, chin) usually needs setting powder to control oil. Your cheeks often look better without powder, especially if you want a dewy finish.
Press powder into your skin rather than sweeping it on. Use a damp beauty sponge or a powder puff to press a thin layer of powder onto oily areas. This technique, called baking when you let the powder sit for a few minutes, locks foundation in place without looking powdery.
Translucent powder works for most skin tones. It doesn’t add extra color, just sets your foundation. If you have deeper skin, test translucent powder in natural light first. Some formulas leave a white cast on darker complexions.
Skip powder entirely if you have dry skin. Use a setting spray instead. Hold the bottle eight to ten inches from your face and mist in an X and T pattern. This covers your entire face evenly. Let it dry naturally without touching your face.
Common Mistakes That Make Your Foundation Look Amateur
Knowing what not to do is just as important as knowing the right techniques.
Applying foundation to dry, unprepped skin makes it cling to dry patches and emphasize texture. Your skin needs moisture first.
Using the wrong shade is obvious in photos and natural light. Foundation should disappear into your skin. Test shades on your jawline, not your hand or wrist. Your perfect foundation shade matches your neck and chest, not your face if they’re different colors.
Rubbing foundation into your skin with a brush or sponge moves it around but doesn’t blend it properly. Stippling, bouncing, and pressing motions work the product into your skin instead of just spreading it across the surface.
Applying foundation before concealer seems logical but creates more work. Foundation often provides enough coverage that you need less concealer. Apply concealer after foundation so you can see exactly where you need extra coverage.
Using too much product is the most common mistake. You need less foundation than you think. A pump of liquid foundation or a pea-sized amount of cream foundation covers your entire face when applied correctly.
Forgetting to blend down your neck creates the floating head effect. Your face looks like a different color than your body.
| Mistake | Why It Happens | The Fix |
|---|---|---|
| Cakey texture | Too much product or powder | Use half as much, build gradually |
| Streaky application | Dry skin or wrong tool | Moisturize first, use damp sponge |
| Obvious lines at jaw | Not blending downward | Extend foundation past jawline |
| Foundation separating | Mixing silicone and water formulas | Match primer and foundation bases |
| Oxidation (darkening) | Natural oils changing formula | Use less on oily areas, set with powder |
| Creasing under eyes | Too much product in fine lines | Use minimal foundation, set with loose powder |
Adjust Your Technique for Different Skin Types
Your skin type determines which application methods work best for you.
Oily skin needs foundation applied in thin layers with a damp sponge. The moisture helps the foundation adhere without sliding around. Set your T-zone with powder immediately. Touch up oily areas throughout the day with blotting papers before adding more powder. Adding powder to oily skin without blotting first just turns the oil into a paste.
Dry skin requires extra moisture in your prep steps. Apply a hydrating serum under your moisturizer. Use your fingers or a damp sponge to apply foundation because brushes can emphasize dry patches. Skip powder completely or use it only on your T-zone. Finish with a hydrating setting spray.
Combination skin is the trickiest because different areas need different techniques. Apply foundation normally, then adjust. Set oily areas with powder and leave dry areas alone. You might need to use two different application tools on the same face, a brush for oily areas and a sponge for dry areas.
Mature skin looks best with lightweight, hydrating foundations. Heavy formulas settle into fine lines. Use a damp sponge and press the foundation into your skin gently. Avoid powder except for a light dusting on your T-zone. The right techniques for mature skin focus on hydration and light coverage.
Acne-prone skin needs a gentle touch. Don’t rub or scrub foundation into active breakouts. Pat it on carefully with a clean sponge. Build coverage with thin layers rather than one thick layer that might irritate sensitive skin.
Professional Tips for Long-Lasting Foundation
These insider techniques keep your foundation looking fresh for hours.
Mix a drop of facial oil into your foundation if you have dry skin. This creates a custom illuminating foundation. Add the oil to your foundation on the back of your hand, mix with your finger, then apply normally.
Spray your beauty sponge with setting spray instead of water before applying foundation. This helps your foundation last longer while still giving you the smooth application of a damp sponge.
Apply foundation in natural light whenever possible. Bathroom lighting lies. What looks perfect under warm artificial light often looks streaky or the wrong shade in daylight.
Clean your tools after every use. Dirty sponges and brushes harbor bacteria and apply foundation unevenly. They also absorb more product than clean tools, wasting your foundation.
Store your foundation properly. Keep it away from heat and direct sunlight. Extreme temperatures change the formula’s consistency and can make it separate or oxidize faster.
Layer your products in the right order. The correct makeup application order makes a significant difference in how your foundation performs and looks throughout the day.
Consider your complete routine too. Foundation is just one part of a polished look. Learning techniques for other steps, like mastering winged eyeliner or perfecting contouring for your face shape, creates a cohesive, professional finish.
Tools and Products That Make Application Easier
Having the right supplies makes professional application much easier to achieve at home.
Beauty sponges are worth the investment. They blend foundation more naturally than most brushes. Replace them every three months or when they start to tear. Wash them after each use with gentle soap or a dedicated sponge cleanser.
Brush sets give you options for different formulas and techniques. You need at least one dense foundation brush, one fluffy powder brush, and one small detail brush for hard-to-reach areas. Natural bristles work best for powder products. Synthetic bristles handle liquid and cream formulas better.
Powder puffs set foundation more effectively than brushes. They press powder into your skin instead of dusting it on top. Velour puffs work beautifully for baking techniques.
Setting sprays come in different finishes. Matte sprays control oil. Dewy sprays add radiance. Some sprays actually extend wear time while others just eliminate powder texture.
Mirrors matter more than you might think. Get a large mirror you can use in natural light near a window. A small magnifying mirror helps you check your blending up close, but always check the overall effect in a regular mirror from a normal viewing distance.
Lighting affects everything. If possible, do your makeup near a window. If you must use artificial light, use daylight-balanced bulbs that mimic natural light. Warm yellow bulbs make everything look too orange.
Troubleshooting When Things Go Wrong
Even professionals have foundation mishaps. Here’s how to fix them without starting over.
Foundation looks too dark: Mix a lighter shade with your current foundation on the back of your hand before applying. Or apply a lighter concealer over your foundation in the center of your face where light naturally hits.
Foundation looks too light: Don’t try to fix this by applying bronzer all over. That creates an orange cast. Instead, mix a darker shade into your foundation or switch to a better match. You can temporarily fix it by blending your foundation further down your neck and onto your chest so the color difference is less obvious.
Foundation looks cakey: Spray your face lightly with setting spray or thermal water. Let it sit for 30 seconds, then gently press your skin with a damp sponge. This melts the layers together and removes excess product.
Foundation is patchy: You didn’t blend enough or your skin was too dry. Spray a damp sponge with setting spray and bounce it over the patchy areas. This re-blends the foundation without removing it completely.
Foundation separated around your nose: This happens when foundation mixes with oil. Blot the area with a tissue. Apply a tiny amount of mattifying primer to your nose, let it set for a minute, then pat a small amount of foundation over it. Set with powder immediately.
Foundation settled into fine lines: You used too much product or the wrong formula for your skin type. Spray your face with setting spray, wait 30 seconds, then gently press the areas with a damp sponge. This softens and redistributes the foundation.
Making Professional Application Part of Your Daily Routine
Applying foundation like a professional doesn’t mean spending an extra hour on your makeup each morning. Once you master these techniques, they become second nature.
Start by perfecting your prep routine. Good skin preparation takes five minutes and makes foundation application twice as fast because the product blends effortlessly.
Practice your blending technique on weekends when you have extra time. Try different tools with your foundation to see which gives you the best results. Take photos in natural light to see exactly how your foundation looks.
Time yourself as you get better. Most people can apply foundation professionally in under ten minutes once they know the right techniques. That’s the same amount of time you probably spend now, but with significantly better results.
Remember that proper makeup removal at the end of the day is just as important as application. Taking care of your skin between makeup applications keeps your canvas in perfect condition.
Your Foundation for Confidence
Learning how to apply foundation like a pro transforms more than just your makeup routine. It changes how you feel when you look in the mirror and how confidently you face your day.
These techniques work because they’re based on how professional makeup artists actually work, not complicated tricks that only look good in photos. Start with proper skin prep, choose the right tools for your formula, build coverage gradually, and set strategically. Those four steps create the foundation for a flawless face every single time.
The difference between amateur and professional foundation application isn’t magic or expensive products. It’s technique, patience, and practice. Give yourself permission to experiment and make mistakes as you learn. Every professional makeup artist started exactly where you are right now.
Your perfect foundation application is waiting just on the other side of these techniques. Start tomorrow morning with fresh skin, the right tools, and these professional methods. You’ll see the difference immediately.