You know that sinking feeling when you check your reflection after lunch and your lipstick has completely vanished? Or worse, when it’s migrated into the fine lines around your mouth? The constant cycle of reapplying gets exhausting, especially when you’re running between meetings or out for the evening.
Long-lasting lipstick requires proper lip preparation, strategic application techniques, and the right product combinations. By exfoliating, priming, layering color correctly, and setting with powder, you can achieve lipstick that stays put for 8+ hours through meals, drinks, and conversation. The secret lies in creating texture for the color to grip and building thin layers rather than one thick coat.
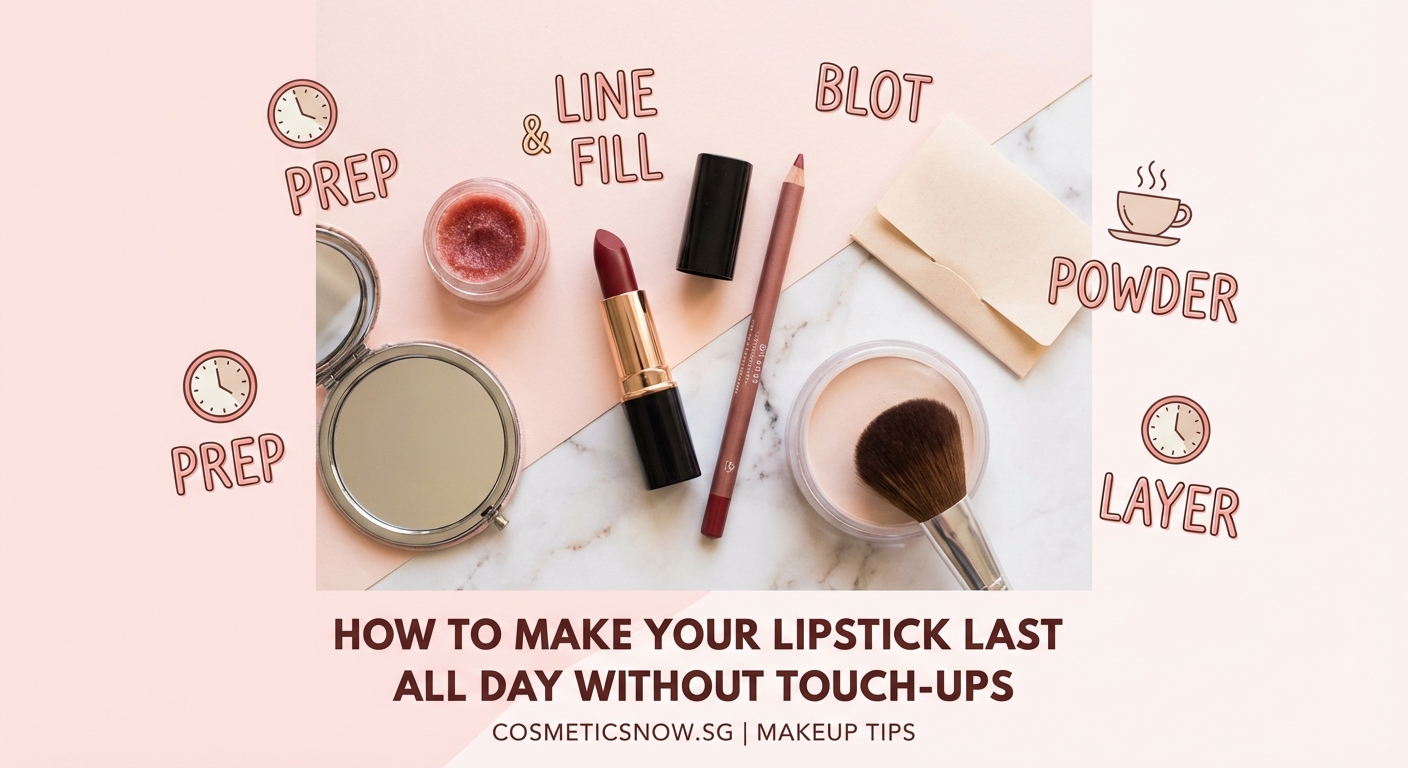
Why your lipstick disappears so fast
Most lipstick fading happens because we skip the prep work. Your lips are constantly moving, producing oils, and coming into contact with food and drinks. Without a proper base, even the best formulas slide right off.
Dry, flaky lips create an uneven surface. Color clings to the flakes instead of your actual lip skin. When those flakes shed throughout the day, your lipstick goes with them.
Natural lip oils break down pigments faster than you’d think. If you have naturally oily skin, your lips likely produce more oil too. This creates a slippery surface that repels long-wear formulas.
The way you apply matters just as much as what you apply. One thick layer of lipstick will always fail faster than multiple thin layers. Thick application never fully sets and tends to transfer onto everything you touch.
Prep your lips the night before
Start your long-wear routine 12 hours before you need it. Apply a thick layer of lip balm or treatment before bed. This gives your lips time to absorb moisture and heal any dry patches.
Avoid licking your lips in the morning. Saliva actually dries out your lips and creates a film that prevents color from adhering properly. Keep a hydrating lip balm nearby instead.
Drink plenty of water starting the day before. Hydrated lips from the inside out hold color better than topically moisturized lips alone. Dehydration shows up on your lips first.
If you’re prone to peeling, take a warm shower in the morning. The steam softens any remaining flakes without harsh scrubbing. Pat your lips dry gently rather than rubbing them with a towel.
The exfoliation step you can’t skip
- Mix a tiny amount of sugar with honey or coconut oil to create a gentle scrub.
- Apply the mixture to your lips using your fingertip in small circular motions for 30 seconds.
- Rinse with lukewarm water and pat dry completely.
- Wait 10 minutes before applying any products to let your lips calm down.
Store-bought lip scrubs work fine, but homemade versions give you more control over texture. Fine sugar works better than coarse grains, which can create tiny tears in the delicate lip skin.
Never scrub aggressively. Your lips are thin-skinned and damage easily. Gentle pressure removes dead skin without irritation.
Time this step carefully. Scrubbing right before application can leave lips slightly inflamed, which affects how smoothly color glides on. The 10-minute waiting period matters.
Prime your lips like a professional
Lip primer creates a grippy base that holds pigment in place. Apply a thin layer across your entire lip surface, including slightly beyond your natural lip line if you plan to overline.
Let the primer dry completely before moving forward. This takes about 2 minutes. If you apply lipstick over wet primer, everything will slide around and pill up.
Some makeup artists use a tiny amount of foundation or concealer as primer. This technique works because it neutralizes your natural lip color and creates texture. Just make sure whatever you use is completely matte. Anything with shine will make your lipstick slip.
For extremely long wear, try applying primer, letting it dry, then applying a second thin layer. Double priming sounds excessive but it genuinely extends wear time by several hours.
Line your entire lips, not just the edges
Lip liner isn’t just for defining your shape. When you fill in your entire lip with liner, you create a base layer that keeps color from fading unevenly.
Choose a liner that matches your lipstick shade exactly. Contrasting liner shows through when your lipstick starts to fade, creating an obvious ring around your lips.
Use short, feathery strokes rather than dragging the pencil across your lips in one motion. This deposits color more evenly and feels more comfortable.
Pay extra attention to the inner corners and center of your bottom lip. These areas fade first because they get the most contact with your teeth and tongue.
“The biggest mistake I see is women outlining their lips but leaving the center bare. That bare center is why your lipstick disappears after one coffee. Fill everything in, and you’ve already won half the battle.”
Apply lipstick in thin layers
Dab your first layer of lipstick on with your finger rather than applying directly from the bullet. This presses the pigment into your lips instead of sitting on top.
Let that first layer dry for 60 seconds. Resist the urge to rub your lips together. Rubbing distributes product unevenly and prevents proper setting.
Apply your second layer with the lipstick bullet or a lip brush. Use light pressure and build coverage gradually. Two thin coats always outlast one thick one.
For maximum staying power, add a third layer. This might seem like overkill, but thin, well-dried layers create a stain effect that survives almost anything.
The tissue and powder trick that changes everything
Separate a two-ply tissue so you have one thin sheet. Hold it over your lips and dust translucent powder over it using a fluffy brush.
The tissue prevents powder from looking cakey while still allowing fine particles through to set the lipstick. This creates a matte, budge-proof finish.
Remove the tissue gently. You’ll notice your lips look slightly matte but not flat. The color should feel completely dry to the touch.
Apply one final thin layer of lipstick over the powdered base. This top coat gives you back some dimension and shine while the powdered layers underneath stay locked in place.
Some people skip the tissue and apply powder directly. This works but can look heavy. The tissue method gives you better control.
Choose formulas that actually last
Not all lipsticks are created equal when it comes to longevity. Liquid lipsticks generally outlast traditional bullets, but they can feel drying.
Look for products labeled as “long-wear,” “transfer-proof,” or “16-hour.” These formulas contain ingredients that bind to your lips rather than sitting on the surface.
Matte finishes last longer than glossy or creamy ones. The trade-off is comfort. Matte formulas can feel tight or drying, especially after several hours.
Stains provide the longest wear of all because they literally dye your lips temporarily. They won’t give you opaque coverage, but they create a base that survives everything.
| Formula Type | Wear Time | Comfort Level | Best For |
|---|---|---|---|
| Liquid Matte | 8-12 hours | Low to Medium | Events, photos |
| Traditional Bullet | 2-4 hours | High | Daily wear, frequent reapplication |
| Lip Stain | 6-10 hours | High | Natural look, low maintenance |
| Long-Wear Cream | 5-8 hours | Medium to High | Balance of comfort and longevity |
Avoid these common mistakes
Applying lip balm right before lipstick creates a slippery base. If your lips feel dry, apply balm at least 15 minutes before starting your lip routine, then blot away any excess.
Rubbing your lips together after application spreads product into your lip lines and removes it from the center. Press your lips together gently if you must, but avoid the rubbing motion.
Skipping the lip liner step to save time backfires. Those 30 seconds you save cost you hours of wear time and multiple reapplications throughout the day.
Using glossy products over matte lipstick breaks down the long-wear formula. If you want shine, choose a lip product specifically designed to work with matte formulas, or accept that you’re sacrificing staying power.
Eating oily or greasy foods will break down any lipstick, no matter how well you applied it. If you know you’ll be eating something messy, plan to do a touch-up afterward.
What to do before eating and drinking
Apply a thin layer of lip balm over your lipstick right before eating. This sounds counterintuitive, but it creates a protective barrier that prevents food oils from breaking down the color underneath.
Drink through a straw when possible. This minimizes contact between the cup rim and your lips. Position the straw toward the center of your lips rather than the corners.
Blot your lips gently with a napkin after eating, but don’t wipe aggressively. Aggressive wiping removes color. Light blotting just removes food particles and excess oils.
Reapply a thin layer of your lipstick after meals if needed. Because you built such a strong base, you usually only need to refresh the surface layer rather than starting over.
Building a complete routine takes practice
Your first attempt at this full routine might take 15 minutes. After a few tries, you’ll get it down to 5 minutes, which is barely longer than regular lipstick application.
Test your routine on a weekend before trying it for an important event. Different lip types respond differently to various techniques. You might find that you need more or less powder, or that certain formulas work better for you.
Keep notes on what works. Did that red lipstick last through dinner? Did the berry shade fade faster? Tracking your results helps you build a personalized system.
Remember that perfect, pristine lipstick all day isn’t realistic for everyone. The goal is significantly reducing reapplication, not eliminating it entirely. If you can go from touching up every hour to once after lunch, that’s a massive improvement.
Making your morning routine work for you
If full prep feels overwhelming for daily wear, save the complete routine for special occasions. For regular days, focus on exfoliation, liner, and one good layer of long-wear formula.
Build these steps into your existing routine rather than treating them as separate tasks. Exfoliate while you’re already in the shower. Prime your lips while your foundation is setting.
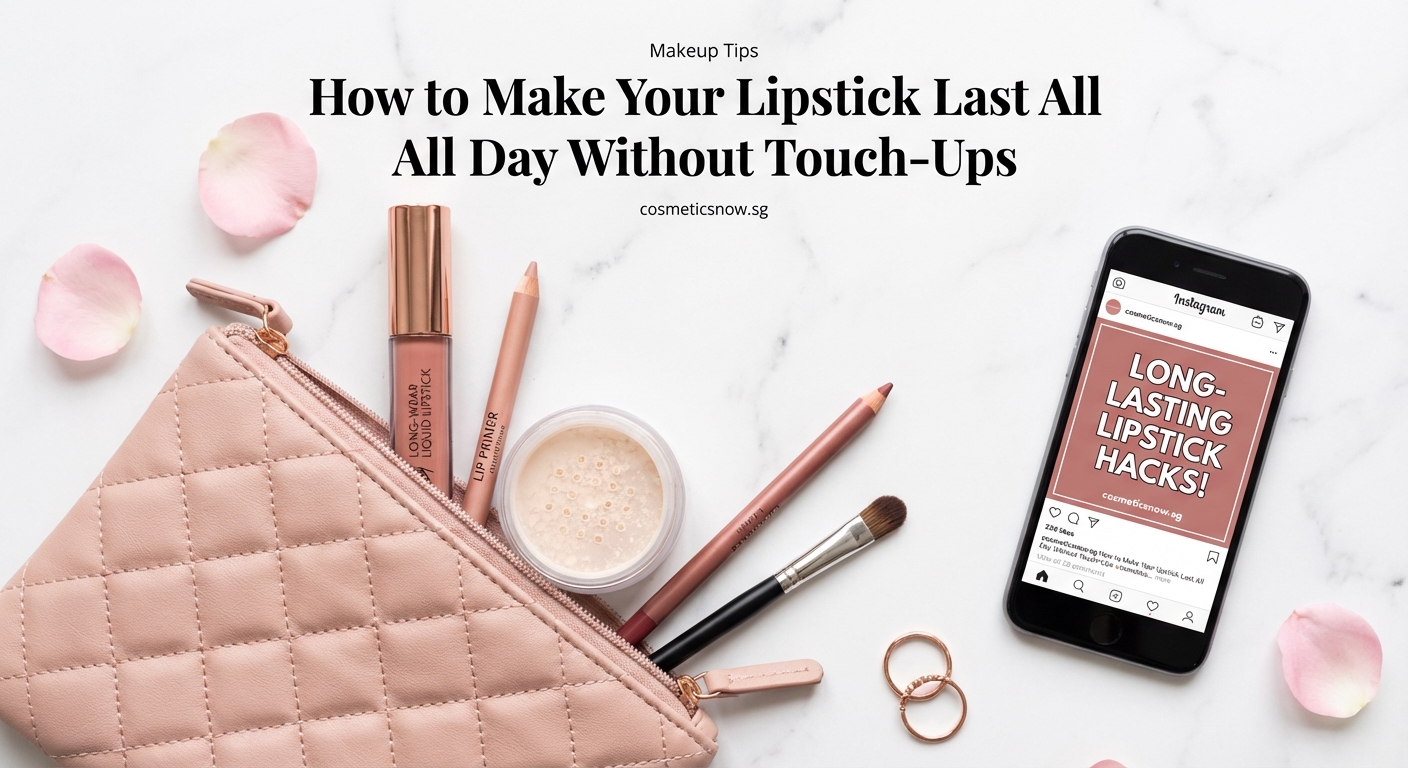
Keep your products organized in one place. Searching for your lip liner wastes time and makes you more likely to skip steps. A small pouch with just your lip products streamlines everything.
Consider your schedule when choosing formulas. A 12-hour workday needs different products than a 4-hour brunch. Match your technique intensity to your actual needs.
The reality of truly long-lasting lips
Even with perfect application, some fading is normal and natural. Your lips move thousands of times per day. They touch food, drinks, napkins, and sometimes other people.
The difference between regular application and this method is where and how fading happens. With proper prep and layering, color fades evenly from the center outward rather than disappearing in patches. The result looks more like a soft stain than obvious wear.
Your lipstick should still look intentional at the end of the day, even if it’s lighter than when you started. That’s the real goal. Not perfection, but maintained color that doesn’t require constant attention.
Some colors naturally last longer than others. Reds and berries tend to have better staying power than nudes and pinks because they contain more pigment. Don’t judge your technique based on a pale pink that was never formulated for long wear.
Simple swaps that extend wear time
- Switch from creamy lipsticks to liquid mattes for events
- Replace glossy topcoats with matte sealers
- Use setting spray on your lips after the powder step
- Choose deeper shades that show fading less obviously
- Keep blotting papers in your bag instead of more lipstick
Setting spray designed for face makeup works on lips too. One light mist after you finish your lip routine adds another layer of staying power. Let it dry completely before closing your mouth.
Blotting papers remove excess oils without removing color. Press them gently against your lips when you feel them getting slippery. This simple step can add an extra hour or two of wear.
Deeper shades are more forgiving as they fade. A deep berry that fades to a medium berry still looks intentional. A pale pink that fades to nothing looks like you forgot to reapply.
Your lips deserve proper care
Long-wear lipsticks can be drying. Counter this by applying a nourishing lip mask at night. Your lips need recovery time after a full day of matte formulas.
Watch for signs of irritation or excessive dryness. If your lips start peeling more than usual or feel uncomfortably tight, take a break from long-wear formulas for a few days.
Remove your lipstick thoroughly every night. Use an oil-based remover or micellar water specifically designed for long-wear makeup. Regular face wash won’t cut it.
Following proper makeup removal techniques protects your lips from damage and keeps them healthy enough to hold color well.
Invest in a good lip treatment. Damaged, unhealthy lips will never hold lipstick properly, no matter how perfect your application technique. Think of lip care as the foundation for everything else.
When to skip the full routine
Some situations don’t require marathon lipstick wear. A coffee date that lasts two hours doesn’t need the same prep as a wedding where you’ll be photographed all day.
If you’re going somewhere you can easily reapply, save yourself the effort. The full routine makes sense when reapplication is difficult or impossible, not for every single day.
Very dry or damaged lips need healing, not long-wear formulas. Give your lips a break when they’re compromised. A tinted lip balm provides some color without the harsh ingredients.
Listen to your comfort level. If matte lipsticks make you miserable, don’t force yourself to wear them just for longevity. A lipstick you reapply three times but enjoy wearing beats one that lasts all day but feels terrible.
Lipstick that works with your life
The techniques in this guide give you options. You don’t have to use every single step every single time. Pick and choose based on what your day demands.
Maybe you always do the primer and liner but skip the powder on casual days. Maybe you save the full routine for work presentations and first dates. That’s completely fine.
The goal is having the knowledge and skills to make your lipstick last when you need it to. Not creating another rigid beauty rule you feel obligated to follow.
Test these methods, adjust them to your preferences, and build a routine that feels manageable. Your lipstick should enhance your confidence, not create more work. When you find the right balance of effort and results, you’ll wonder how you ever managed with constant reapplication.
