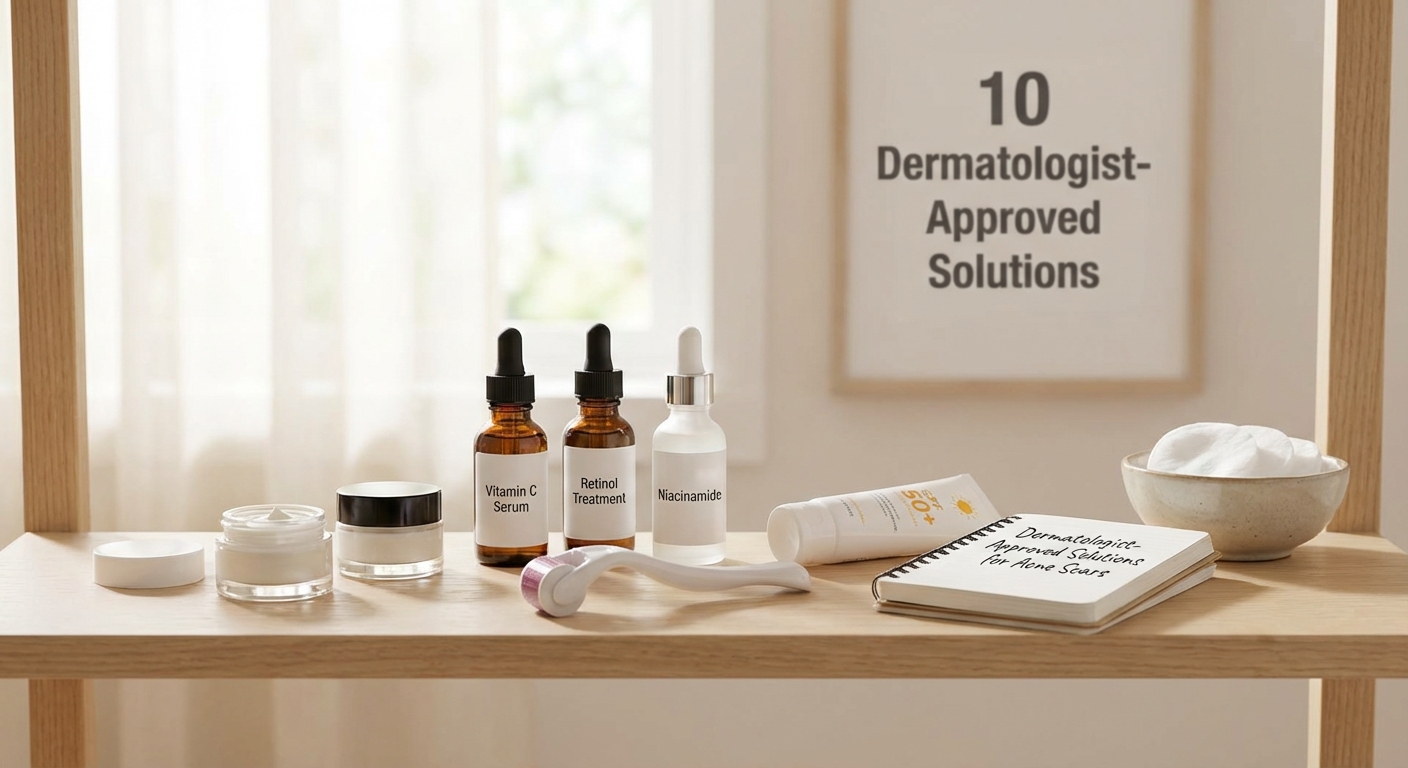
Acne scars can stick around long after breakouts clear. You’ve tried over-the-counter creams, watched countless tutorials, and scrolled through before-and-after photos. But stubborn scarring needs more than drugstore solutions. That’s where dermatologist approved acne scar treatments come in.
Professional acne scar treatments work by targeting different scar types through controlled skin injury and repair. Dermatologists use laser therapy, microneedling, chemical peels, and injectable fillers to stimulate collagen production and resurface damaged skin. Results vary by scar depth, skin type, and treatment consistency. Most people need multiple sessions over several months to see significant improvement in texture and appearance.
Understanding Why Some Scars Refuse to Fade
Not all acne scars respond to the same treatment. Your skin creates three main types of scarring: ice pick scars that look like deep pores, boxcar scars with defined edges, and rolling scars that create wave-like indentations.
Each type forms differently. Ice pick scars tunnel deep into your skin. Boxcar scars lose supporting tissue underneath. Rolling scars develop from bands of scar tissue pulling down on the skin’s surface.
Your skin type matters too. Darker skin tones face higher risks of hyperpigmentation during healing. Fair skin might show redness longer after procedures. These factors shape which treatments your dermatologist will recommend.
Professional Treatment Options That Actually Work
Dermatologist approved acne scar treatments fall into several categories. Each targets specific scar types and depths.
Laser resurfacing uses focused light to remove damaged skin layers. Ablative lasers vaporize tissue for dramatic results but require longer recovery. Non-ablative lasers heat underlying tissue without breaking the surface. They cause less downtime but need more sessions.
Microneedling creates controlled micro-injuries with tiny needles. Your skin responds by producing new collagen. This treatment works well for rolling scars and general texture issues. Adding radiofrequency energy (RF microneedling) delivers heat deep into tissue for enhanced results.
Chemical peels apply acid solutions to remove damaged surface layers. Light peels use glycolic or salicylic acid for subtle improvements. Medium peels with trichloroacetic acid (TCA) penetrate deeper. Deep peels reach the lower dermal layer but require significant recovery time.
Injectable fillers lift depressed scars from underneath. Hyaluronic acid fillers work for shallow boxcar and rolling scars. Results last several months before requiring touch-ups. Some dermatologists use your own fat cells for longer-lasting correction.
Subcision involves inserting a needle under the skin to break fibrous bands. This releases tethered tissue causing rolling scars. The procedure often pairs with filler injections for better results.
How to Choose the Right Treatment Path
Selecting dermatologist approved acne scar treatments starts with proper assessment. Book a consultation with a board-certified dermatologist who specializes in scar revision.
During your appointment, expect these steps:
- The dermatologist examines your scars under bright lighting and magnification.
- They classify each scar type and measure depth using specialized tools.
- You discuss your medical history, including any keloid tendencies or healing issues.
- The doctor evaluates your skin tone and assesses hyperpigmentation risk.
- Together you review treatment options, expected outcomes, and realistic timelines.
- They create a customized treatment plan that might combine multiple approaches.
Many people achieve better results by layering treatments. For example, you might start with chemical peels to improve overall texture, then add microneedling for deeper scars, and finish with laser therapy for stubborn areas.
Building a solid foundation helps too. The complete step-by-step guide to building your first skincare routine explains how proper daily care supports professional treatments.
What to Expect During Treatment Sessions
Each procedure follows different protocols. Here’s what happens during common treatments:
Laser sessions typically last 30 to 60 minutes. The dermatologist applies numbing cream first. You’ll wear protective eyewear. The laser makes multiple passes over treatment areas. Expect a rubber-band-snapping sensation. Your skin will look red and feel sunburned afterward.
Microneedling appointments run about 45 minutes. After numbing cream takes effect, the device glides across your skin creating thousands of tiny channels. You might see pinpoint bleeding. Redness and mild swelling last a few days.
Chemical peel application takes 15 to 30 minutes depending on strength. The solution stays on for a specific time before neutralization. You’ll feel tingling or burning. Peeling starts within days and continues for about a week.
Filler injections require minimal time. The dermatologist marks injection sites, cleans the area, and uses a fine needle to place filler under each scar. Some products include lidocaine for comfort. Results appear immediately but improve over days as swelling subsides.
“Patience separates successful scar treatment from disappointment. Your skin needs time to produce new collagen and remodel tissue. Rushing between sessions or expecting overnight changes leads to frustration. Trust the process and follow your dermatologist’s timeline exactly.” – Dr. Sarah Chen, Board-Certified Dermatologist
Recovery and Aftercare That Makes or Breaks Results
Post-treatment care directly impacts your outcomes. Skip these steps and you risk complications or poor results.
For laser treatments:
– Keep skin moist with prescribed ointments
– Avoid sun exposure completely for at least two weeks
– Sleep with your head elevated to reduce swelling
– Skip makeup until your dermatologist approves
– Expect peeling and crusting as normal healing signs
After microneedling:
– Use only gentle, dermatologist-approved products
– Avoid retinoids and acids for several days
– Apply mineral sunscreen once redness fades
– Don’t pick at any flaking skin
– Stay away from gyms and pools for 48 hours
Following chemical peels:
– Let skin peel naturally without pulling
– Apply thick moisturizers frequently
– Protect healing skin from all sun exposure
– Avoid hot showers and sweaty activities
– Expect different peeling patterns based on peel depth
Managing your skin barrier becomes critical during recovery. Why your skin barrier matters and how to repair it fast offers strategies that protect healing tissue.
Treatment Comparison for Different Scar Types
| Scar Type | Most Effective Treatment | Sessions Needed | Recovery Time | Cost Range |
|---|---|---|---|---|
| Ice Pick | TCA CROSS or laser | 3-6 | 1-2 weeks | $500-$3000 |
| Boxcar | Laser resurfacing or subcision + filler | 3-5 | 1-3 weeks | $800-$4000 |
| Rolling | Subcision + microneedling | 4-6 | 3-7 days | $600-$3500 |
| Hyperpigmentation | Chemical peels or laser toning | 4-8 | 3-5 days | $300-$2000 |
| Mixed Scarring | Combination therapy | 6-10 | Varies | $1500-$6000 |
Common Mistakes That Waste Time and Money
Many people sabotage their results without realizing it. Avoid these errors:
Jumping between providers. Each dermatologist uses different techniques and products. Switching mid-treatment disrupts your protocol and makes it harder to track progress.
Skipping sun protection. UV exposure darkens healing scars and can cause permanent hyperpigmentation. Mineral sunscreen with zinc oxide or titanium dioxide works best on sensitive, treated skin.
Using harsh products too soon. Your skin needs gentle care during recovery. Aggressive exfoliants, strong retinoids, or fragranced products inflame healing tissue.
Expecting identical results to photos. Before-and-after images show best-case scenarios. Your results depend on scar severity, skin type, and healing capacity.
Neglecting maintenance treatments. Collagen production slows over time. Most people need periodic touch-up sessions to maintain improvements.
Trying DIY alternatives between sessions. Home dermarollers, at-home peels, and other treatments can damage skin and interfere with professional protocols.
If you’re layering treatments with your regular beauty routine, understanding how to properly layer your serums for maximum skin benefits prevents product conflicts.
Timeline for Seeing Real Improvements
Realistic expectations prevent frustration. Here’s what improvement looks like:
Weeks 1-2: Initial healing completes. Redness fades. Peeling stops. Skin looks similar to pre-treatment or slightly worse due to inflammation.
Weeks 3-6: New collagen starts forming. You might notice subtle texture changes. Scars appear slightly less deep.
Months 2-3: Visible improvements emerge. Shallow scars soften. Skin texture smooths. Hyperpigmentation begins lightening.
Months 4-6: Continued collagen remodeling. Deeper scars show measurable reduction. Overall skin quality improves.
Months 6-12: Maximum results appear. Some treatments continue improving for a full year as collagen matures.
Most dermatologists space sessions 4 to 6 weeks apart. This timing allows complete healing and optimal collagen production between treatments.
Combining Treatments for Stubborn Cases
Severe scarring often requires multiple approaches. Dermatologists design combination protocols that target different aspects of scarring simultaneously.
A typical combination might include:
– Subcision to release tethered tissue
– Followed by filler injection to support lifted areas
– Then microneedling to stimulate overall collagen production
– With maintenance chemical peels between major treatments
This layered approach addresses structural issues, stimulates repair, and maintains improvements. Each treatment enhances the others.
Some dermatologists add platelet-rich plasma (PRP) to microneedling sessions. Your blood gets processed to concentrate growth factors, then applied during needling. While research shows mixed results, some patients report faster healing and better outcomes.
Cost Considerations and Insurance Reality
Dermatologist approved acne scar treatments rarely qualify for insurance coverage. Most insurers classify them as cosmetic procedures.
Budget for these typical costs:
– Initial consultation: $100-$300
– Single laser session: $500-$2000
– Microneedling treatment: $300-$700
– Chemical peel: $150-$600
– Filler per syringe: $600-$1200
– Subcision per area: $400-$1000
Total treatment costs range from $2000 to $10,000 depending on scar severity and chosen methods. Many practices offer payment plans or package pricing for multiple sessions.
Consider the long-term value. Professional treatments provide permanent or long-lasting improvements. Compare this to years of buying ineffective products that promise results they can’t deliver.
Maintaining Results After Treatment Ends
Your skin continues changing after treatments finish. Protect your investment with proper maintenance.
Daily sun protection remains non-negotiable. UV damage breaks down collagen and darkens scars. Use broad-spectrum SPF 30 or higher every single day.
Retinoid use supports continued collagen production. Start with low-strength prescription tretinoin or over-the-counter retinol. Apply at night after your dermatologist approves.
Gentle exfoliation removes dead cells and keeps pores clear. Use products with lactic acid or polyhydroxy acids (PHAs) 2-3 times weekly.
Hydration maintains skin plumpness and healing capacity. Layer a hyaluronic acid serum under your moisturizer.
Annual touch-ups preserve improvements. Most people benefit from one or two maintenance sessions yearly.
Creating sustainable habits matters more than complicated routines. How to build a nighttime skincare routine for every skin type shows how simple consistency beats elaborate protocols.
Questions to Ask Before Starting Treatment
Come prepared to your consultation. These questions help you make informed decisions:
- What specific scar types do I have and which treatments work best for each?
- How many sessions will I realistically need to see significant improvement?
- What results can I expect given my skin type and scar severity?
- What are the specific risks for my skin tone?
- How long will each recovery period last and what restrictions apply?
- What’s the total estimated cost for my complete treatment plan?
- Do you have before-and-after photos of patients with similar scarring?
- What happens if I develop complications or don’t respond to treatment?
- How long do results typically last and what maintenance will I need?
- Can I see your credentials and how many scar revision procedures you perform yearly?
Don’t feel pressured to start immediately. Take time to research your dermatologist’s qualifications, read reviews, and consider multiple opinions for extensive scarring.
When Professional Treatment Makes Sense
Not everyone needs dermatologist approved acne scar treatments. Mild textural changes often improve with consistent at-home care and time.
Consider professional intervention when:
– Scars significantly impact your confidence or quality of life
– Over-the-counter products haven’t improved scarring after six months
– You have deep ice pick or boxcar scars that won’t respond to topical treatments
– Hyperpigmentation persists despite diligent sun protection and brightening products
– You’re ready to commit to multiple sessions and proper aftercare
– Your budget allows for the full treatment series, not just one or two sessions
Some people find that addressing their scars changes more than just their skin. Confidence grows. Makeup application becomes easier. You stop avoiding cameras or certain lighting.
Building Your Treatment Journey
Starting dermatologist approved acne scar treatments feels overwhelming. Break the process into manageable steps.
First, research board-certified dermatologists in your area who specialize in scar revision. Check credentials, read patient reviews, and look at their before-and-after galleries.
Schedule consultations with two or three providers. Compare their assessments, recommended treatments, and communication styles. Choose someone who listens to your concerns and explains options clearly.
Once you select a dermatologist, commit to their full treatment plan. Stopping halfway through delivers disappointing results and wastes money.
Document your progress with monthly photos in consistent lighting. Changes happen gradually and photos help you see improvements you might miss in the mirror.
Connect with others going through similar treatments. Online communities offer support, realistic expectations, and practical tips for managing recovery.
Remember that improving acne scars takes time. Your skin didn’t develop scarring overnight and it won’t heal instantly. Trust the process, follow your dermatologist’s instructions precisely, and celebrate small improvements along the way.
Professional treatments work when you choose the right options for your specific scarring, commit to the full protocol, and maintain results with proper skincare. Your patience and consistency will pay off with smoother, more confident skin that finally matches how you want to look and feel.