Cracked, peeling lips are more than just uncomfortable. They ruin your lipstick application, make eating painful, and leave you constantly reaching for store-bought balms that never seem to last. The good news? You probably already have everything you need in your kitchen to create a powerful lip treatment duo that costs pennies and delivers real results.
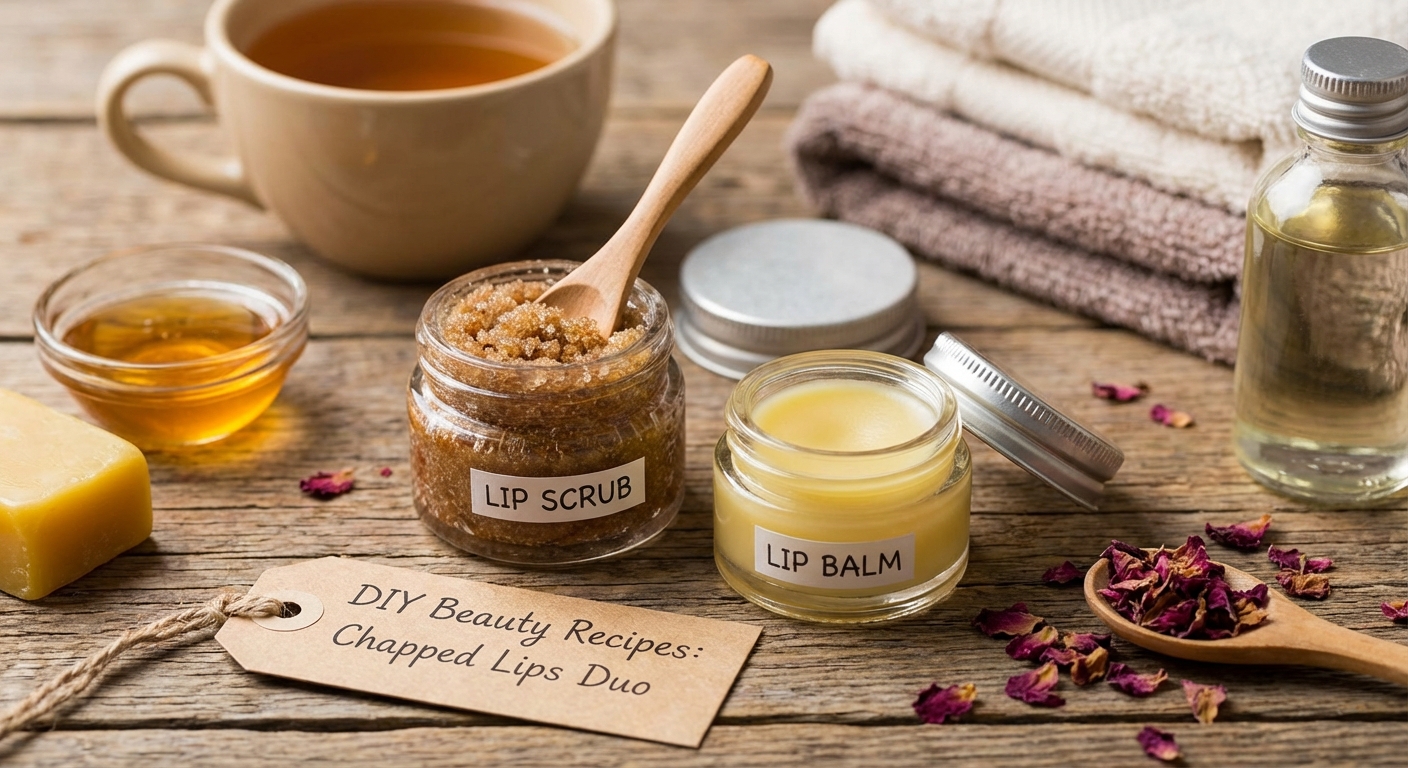
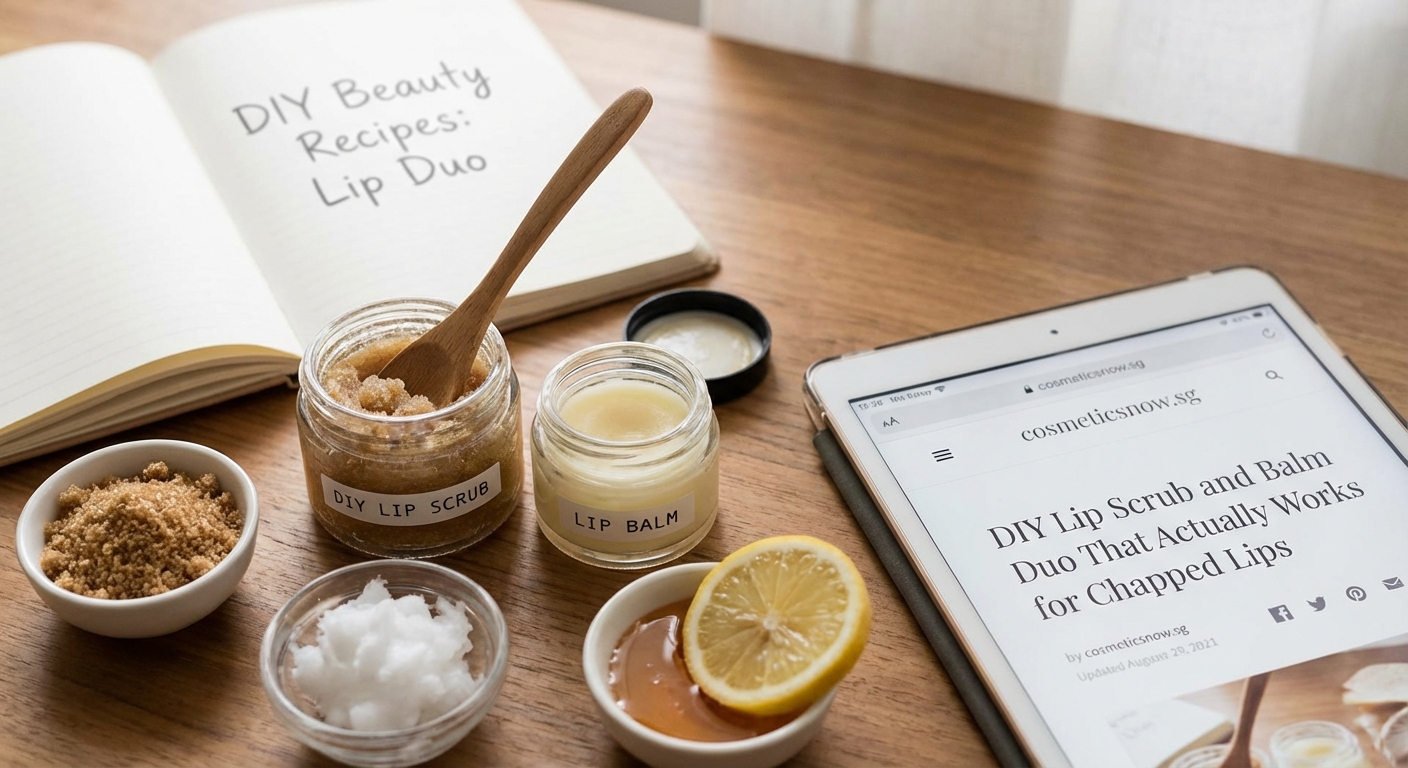
Creating your own lip scrub and balm duo takes less than 15 minutes and uses ingredients like sugar, honey, coconut oil, and beeswax. The scrub gently removes dead skin while the balm locks in moisture for up to 8 hours. This combination treats chapped lips more effectively than most commercial products because you control exactly what touches your skin, avoiding irritating chemicals and synthetic fragrances that often make dryness worse.
Why store-bought products keep failing you
Most commercial lip balms contain ingredients that feel soothing at first but create a dependency cycle. Petroleum-based products sit on top of your lips without actually nourishing them. Synthetic fragrances and flavors can irritate sensitive skin. Menthol and camphor create a cooling sensation that masks the problem instead of solving it.
When you make your own products, you skip all of that. You know exactly what goes into each jar. No mystery chemicals. No ingredients you can’t pronounce. Just pure, effective care that your lips actually absorb.
The cost difference is staggering too. A decent lip scrub at the drugstore runs $8 to $12. A quality balm costs another $6 to $10. Your homemade versions? About $2 total, and you’ll have enough for months.
The perfect sugar lip scrub recipe
This scrub removes flaky skin without causing micro-tears that make chapping worse. The key is using fine sugar instead of coarse crystals.
What you need
- 1 tablespoon white or brown sugar
- 1 teaspoon honey (raw is best)
- 1/2 teaspoon coconut oil
- 2 drops vanilla extract (optional)
How to make it
- Mix the sugar and honey in a small bowl until you get a thick paste.
- Warm the coconut oil between your fingers until it melts, then add it to the mixture.
- Stir until everything combines into a spreadable scrub.
- Add vanilla extract if you want a pleasant scent.
- Transfer to a small jar or tin.
This batch lasts about two weeks when stored at room temperature. The honey acts as a natural preservative while also drawing moisture into your lips.
“The combination of sugar’s physical exfoliation with honey’s humectant properties creates the ideal environment for lip healing. Sugar crystals are just abrasive enough to remove dead cells without damaging the delicate new skin underneath.” — Clinical dermatology research, 2019
How to use your lip scrub correctly
Timing matters. Scrub your lips right before bed or before applying makeup. Never scrub more than three times per week, even if your lips feel rough. Over-exfoliating strips away protective oils.
Apply a small amount to dry lips. Use your finger to massage in gentle circles for 30 to 45 seconds. Don’t press hard. Let the sugar do the work.
Rinse with lukewarm water. Pat dry with a soft towel. Apply your homemade balm immediately while your lips are still slightly damp. This locks in maximum moisture.
If your lips are severely cracked or bleeding, skip the scrub entirely until they heal. The sugar will sting and could make things worse.
The healing lip balm recipe
This balm creates a protective barrier that doesn’t just sit on the surface. The ingredients actually penetrate and repair damaged skin.
Ingredients you’ll need
- 1 tablespoon beeswax pellets
- 2 tablespoons coconut oil
- 1 tablespoon shea butter
- 3 drops vitamin E oil
- Optional: 2 drops peppermint essential oil
Step-by-step instructions
- Create a double boiler by placing a heat-safe bowl over a pot of simmering water.
- Add beeswax pellets to the bowl and let them melt completely.
- Stir in coconut oil and shea butter until everything liquifies.
- Remove from heat and let cool for one minute.
- Add vitamin E oil and essential oil if using.
- Pour into small tins or empty lip balm tubes.
- Let solidify at room temperature for 2 hours.
This recipe makes about three standard lip balm tubes. They stay good for up to six months.
The beeswax provides structure and creates a breathable seal. Coconut oil and shea butter deliver deep moisture. Vitamin E speeds healing and prevents oxidation that could make your balm go rancid.
Common mistakes that ruin homemade lip products
| Mistake | Why it happens | How to fix it |
|---|---|---|
| Balm is too hard | Too much beeswax | Reduce beeswax by 1/4 teaspoon and add more oil |
| Balm stays liquid | Not enough beeswax | Add 1/2 teaspoon more beeswax and remelt |
| Scrub is too oily | Oil ratio too high | Add more sugar to absorb excess oil |
| Products go bad quickly | No preservatives | Store in cool, dry place; make smaller batches |
| Scrub feels too rough | Sugar crystals too large | Use superfine sugar or pulse regular sugar in a blender |
| Balm causes breakouts | Comedogenic ingredients | Replace coconut oil with jojoba or sweet almond oil |
Customizing your recipes for different needs
Your lips change with the seasons and your environment. Winter demands richer formulas. Summer calls for lighter protection.
For extra healing power in winter, add one teaspoon of cocoa butter to your balm recipe. It creates an even thicker barrier against harsh wind and indoor heating.
If you have sensitive skin, skip essential oils entirely. They smell nice but can trigger reactions. Plain balm works just as well.
Want a tinted balm? Add a tiny scrape of lipstick to your melted mixture before pouring. Start with less than you think you need. You can always add more.
For overnight treatment, make a thicker version by doubling the beeswax. Apply a generous layer before bed. Your lips will be noticeably softer by morning.
Ingredients to avoid in DIY lip care
Not everything natural belongs on your lips. Some popular DIY ingredients actually cause more problems than they solve.
Lemon juice appears in many online recipes, but the acid can burn sensitive lip skin and increase sun sensitivity. Skip it completely.
Cinnamon oil might seem like a good flavoring choice, but it’s a known irritant that causes swelling and redness in many people.
Petroleum jelly shows up in countless homemade balm recipes. While it’s not toxic, it doesn’t allow your skin to breathe or absorb other beneficial ingredients.
Camphor and menthol create a tingling sensation that feels medicinal but actually dries out your lips over time. Save these for muscle rubs, not lip care.
How often to use your homemade duo
The scrub and balm work together but on different schedules. Scrub two to three times per week maximum. More frequent exfoliation damages the delicate skin barrier your lips need to stay healthy.
The balm, however, can be applied as often as needed. Most people find four to six times daily keeps lips comfortable. Apply after eating, drinking, or being outdoors.
Always use balm immediately after scrubbing. This is when your lips are most receptive to moisture. The exfoliation removes the barrier that usually blocks absorption.
If you wear lipstick, apply balm 10 minutes before your lip color. This creates a smooth base and prevents the drying effect many lipsticks have. Check out how to make your lipstick last all day without touch-ups for more tips on keeping your lip color perfect.
Storage tips that extend shelf life
Proper storage makes the difference between products that last months and ones that go bad in weeks.
Keep both scrub and balm in airtight containers. Exposure to air speeds oxidation, which turns oils rancid.
Store in a cool, dry place. Not the bathroom. The humidity and temperature changes create the perfect environment for bacteria growth.
Use clean fingers or a small spatula every time you dip into your containers. Introducing bacteria shortens shelf life dramatically.
Label everything with the date you made it. Even with perfect storage, homemade products don’t last forever. Replace scrubs after three weeks and balms after six months.
If your balm develops an off smell or changes color, toss it. These are signs of spoilage. Better safe than sorry.
Troubleshooting lip problems the natural way
Sometimes chapped lips signal a bigger issue. Chronic dryness that doesn’t respond to treatment might mean you’re dehydrated. Drink more water. Aim for eight glasses daily.
Peeling that returns within hours of treatment could indicate a vitamin deficiency. B vitamins and iron both affect lip health. Consider adding a supplement or eating more leafy greens and whole grains.
Cracking at the corners of your mouth is often caused by yeast overgrowth or bacterial infection. Your homemade products won’t fix this. See a doctor for proper treatment.
If your lips react badly to your DIY products, you might have an allergy to one of the ingredients. Coconut allergies are more common than people realize. Try substituting sweet almond oil or jojoba oil instead.
Building a complete natural skincare routine extends beyond just lip care. The complete step-by-step guide to building your first skincare routine can help you create a full regimen that works together.
Scaling up your recipes for gifts
These recipes make excellent presents. Friends and family love receiving handmade beauty products, especially when they actually work.
To make gift batches, multiply the balm recipe by four. This creates enough for 12 standard tubes or tins. The scrub recipe multiplies well too, but remember it has a shorter shelf life.
Package in small mason jars tied with ribbon. Add a handwritten label listing the ingredients and usage instructions. Include the date you made it.
Create variety packs by making three different balm flavors. Try vanilla, peppermint, and plain. Package them together in a small gift box.
For a complete lip care kit, pair one scrub and two balms. Add a small card explaining how to use them together for best results.
When DIY isn’t enough
Homemade products work beautifully for everyday dryness and minor chapping. But some situations require professional intervention.
Lips that crack and bleed constantly might have an underlying condition like angular cheilitis or eczema. A dermatologist can diagnose and treat these properly.
Sudden severe chapping that appears out of nowhere could signal an allergic reaction to food, medication, or dental products. Track what changed recently and consult a doctor.
Persistent white patches, unusual texture changes, or sores that don’t heal within two weeks should always be evaluated by a healthcare provider. These can indicate more serious conditions.
Your DIY products are preventive care and treatment for normal dryness. They’re not a replacement for medical advice when something seems off.
Building this into your daily routine
The best lip care happens consistently, not just when problems appear. Make these products part of your regular self-care.
Keep a tin of balm in your purse, car, and nightstand. You’ll use it more often when it’s always within reach.
Set a reminder to scrub on Monday, Wednesday, and Saturday evenings. Consistency matters more than frequency.
Pair balm application with other habits you already do. After brushing your teeth. Before applying makeup. Right after washing your face. Habit stacking makes new routines stick.
If you’re working on other beauty habits, consider exploring the 5-minute morning beauty routine that actually works to streamline your entire morning process.
Making lip care sustainable
Creating your own products reduces plastic waste significantly. One batch of homemade balm eliminates three or four disposable tubes from landfills.
Buy ingredients in bulk when possible. Beeswax, coconut oil, and shea butter all have long shelf lives when stored properly.
Reuse containers. Small tins and jars can be washed and refilled indefinitely. Glass is better than plastic for this purpose.
Choose organic ingredients when your budget allows. Bees that produce organic beeswax aren’t exposed to pesticides, which means those chemicals don’t end up in your balm.
If sustainability matters to you beyond lip care, how to build a zero-waste makeup routine without sacrificing quality offers practical ways to reduce waste across your entire beauty routine.
Your lips deserve better than drugstore fixes
Making your own lip scrub and balm takes minimal time and delivers maximum results. You control every ingredient. You avoid irritating chemicals. You save money. And most importantly, you actually heal your lips instead of creating dependency on products that never quite solve the problem.
Start with small batches until you find the consistency and scent you love. Adjust ratios to match your climate and needs. Store properly to extend shelf life. Use consistently for best results.
Your lips will thank you. And once you see how well homemade products work, you’ll wonder why you ever bought commercial versions in the first place.